Are you Tethered Caps ready? We are.
Find out about the vision inspection of tethered caps with our CapWatcher Q-Line.
How can Artificial Intelligence and Deep Learning be used in vision inspection? In which applications is it beneficial?
The system simplifies the inspection of barrier layers in PET preforms. In a non-destructive inspection process, the system fully inspects the barrier material.
Stop cutting and delaminating your preforms for the quality control of your barrier layer. The LayerWatcher has been developed to inspect preform layers in an objective, quick, and non-destructive way. Its game-changing measuring technology provides an indispensible tool for your quality inspection.
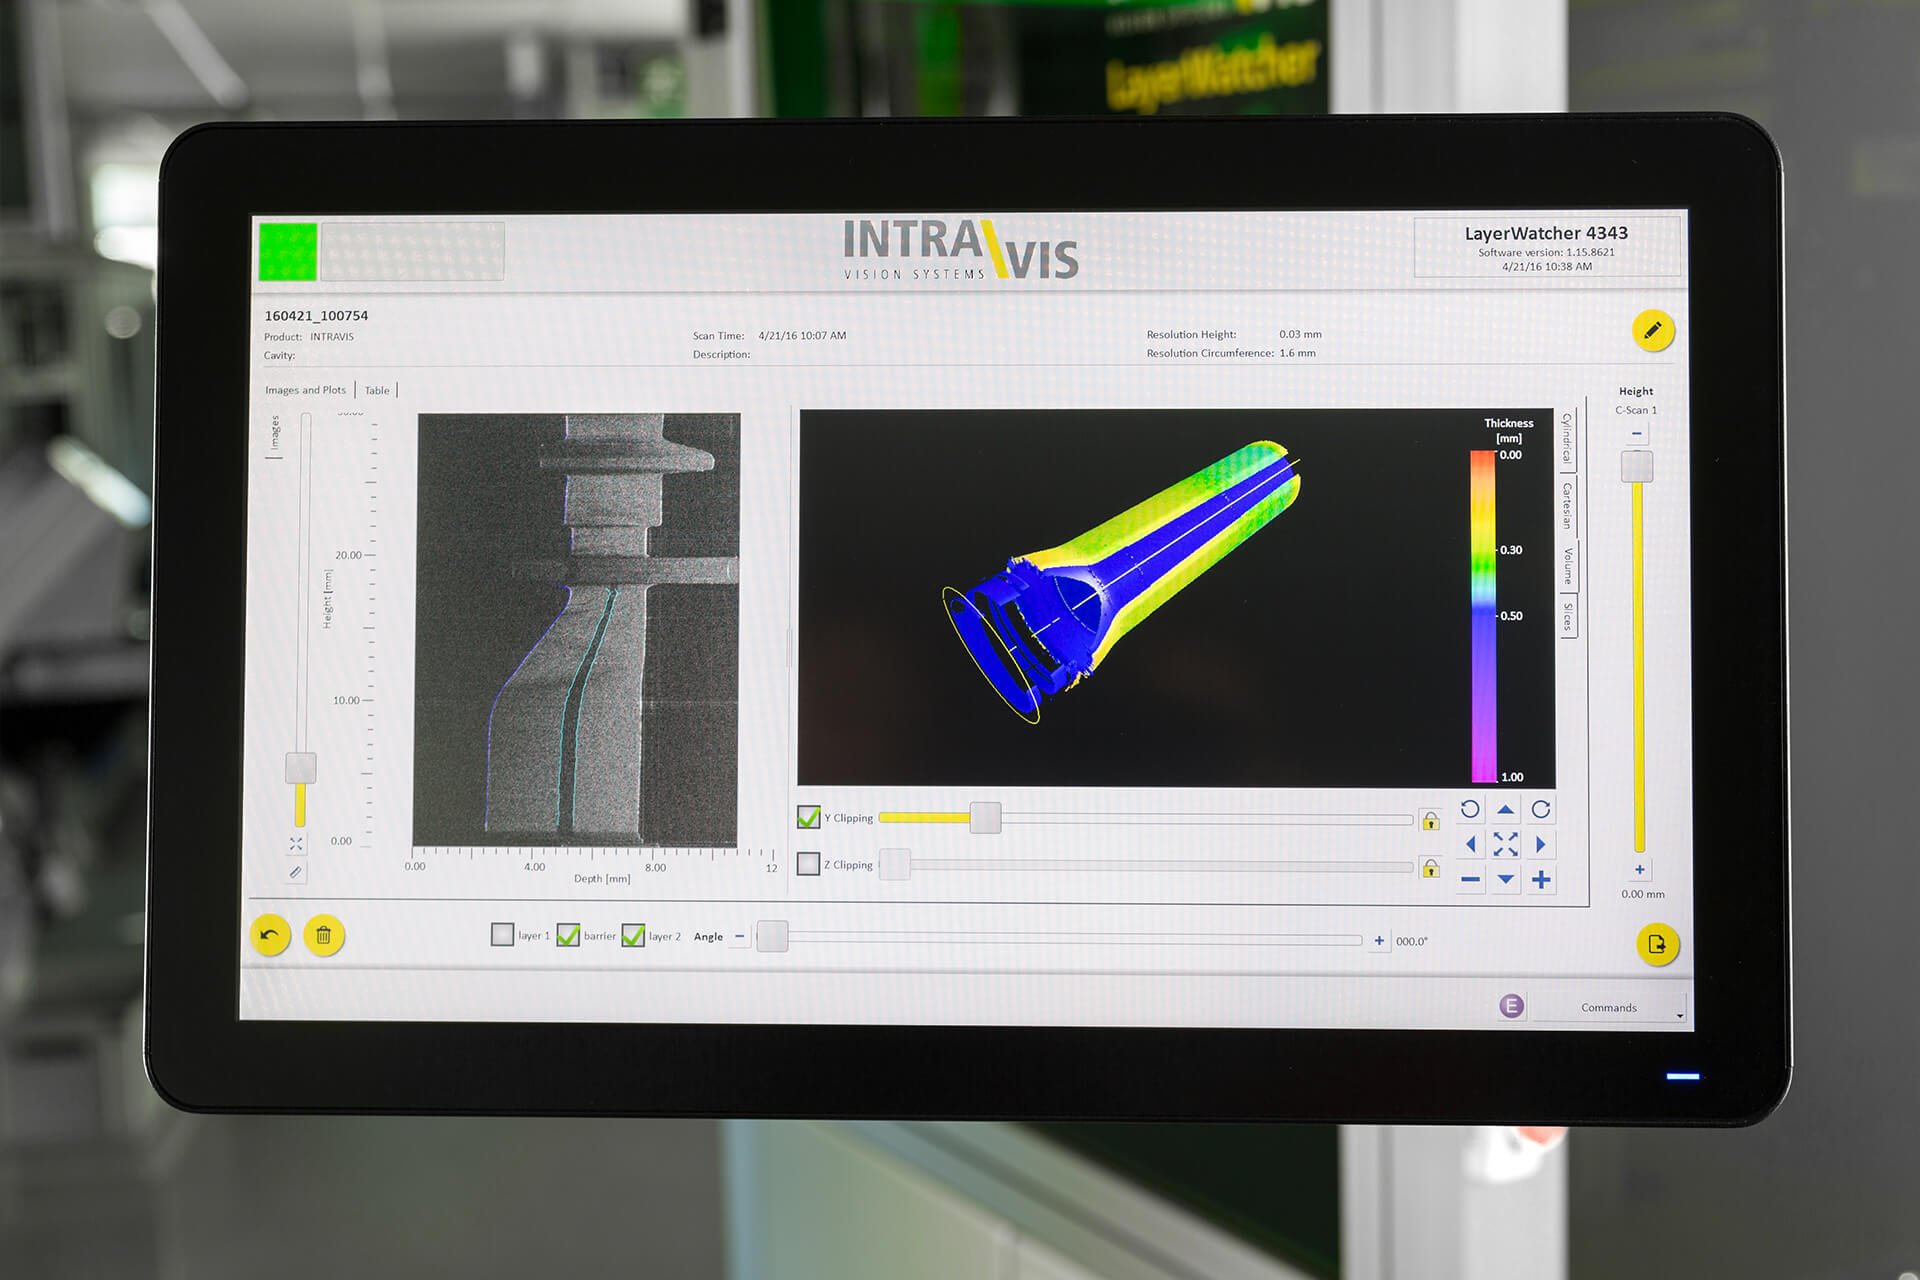
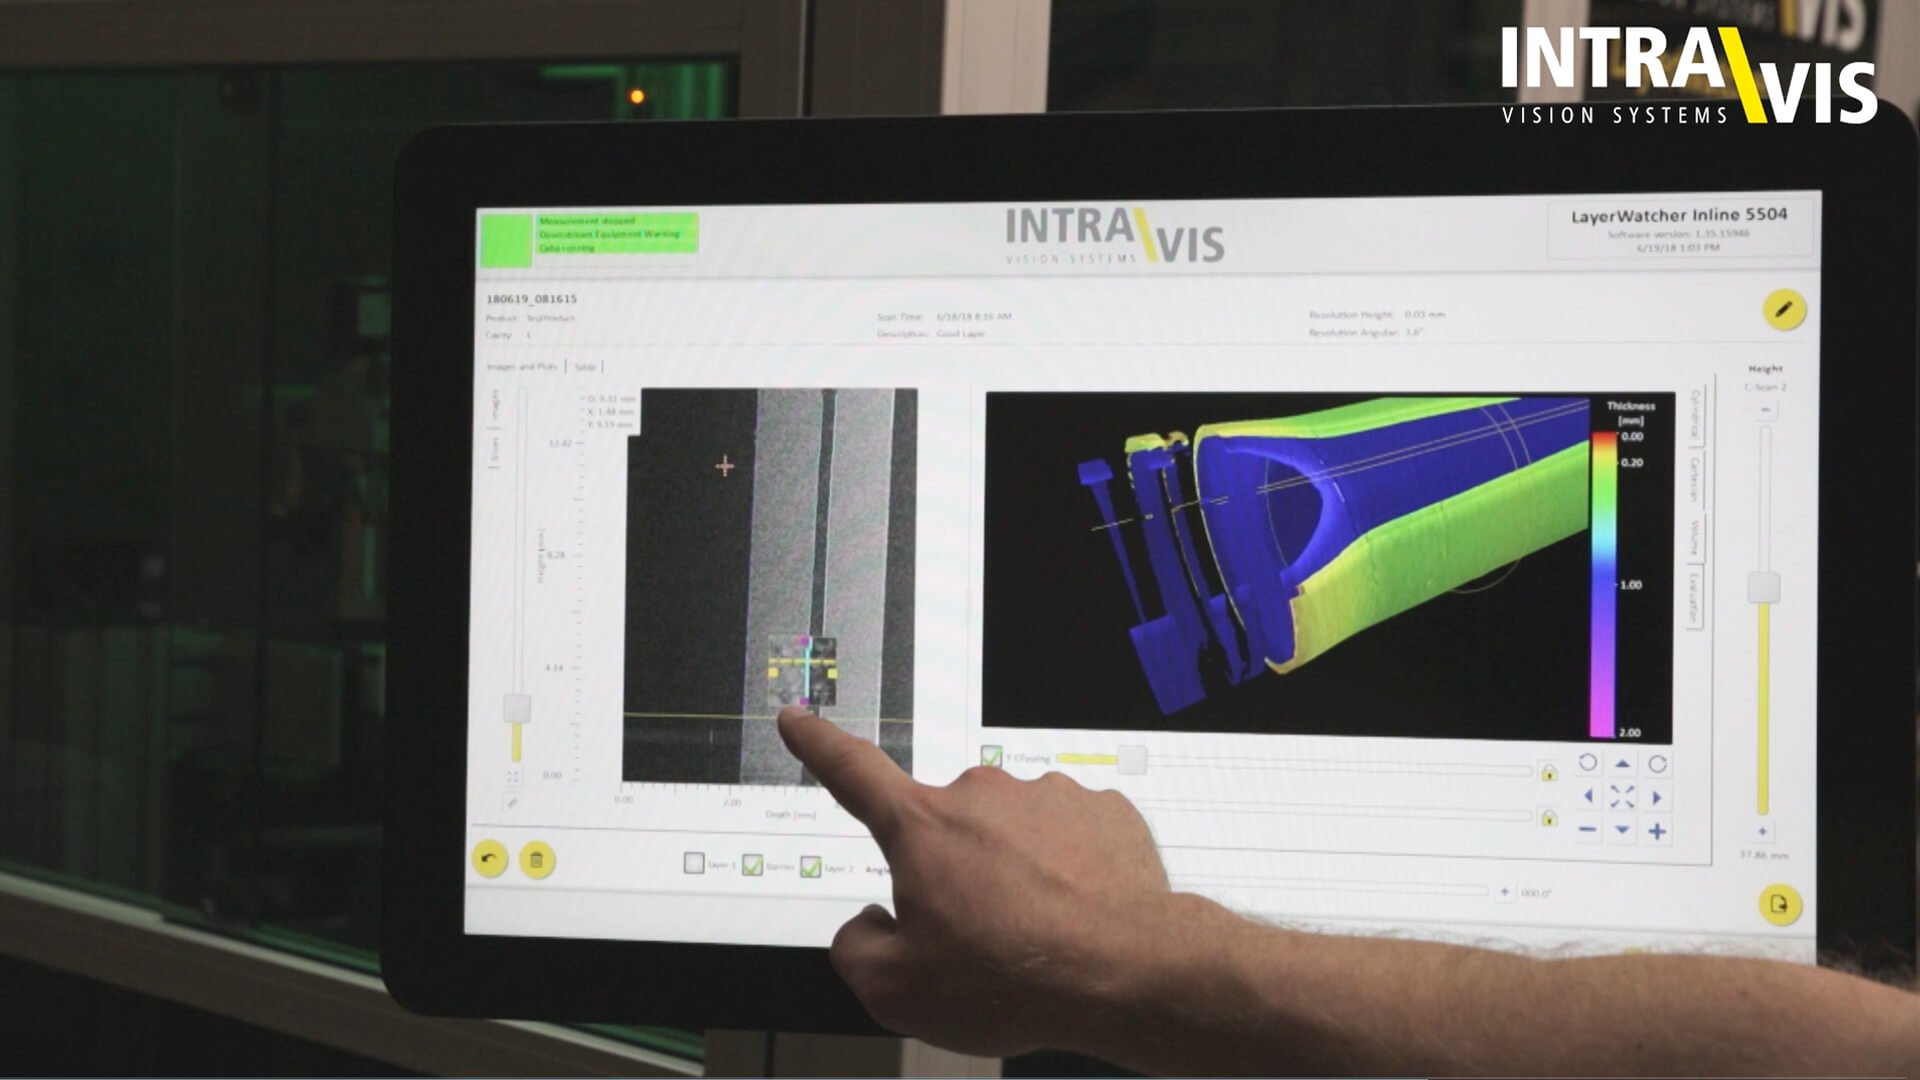
The preforms are given into the system as a shot and are identified by their cavity numbers. In about 45 seconds, the LayerWatcher inspects up to 100.000 measuring points. Afterwards, the results allow for different visualizations – whether it is a visualization of individual layers, or a comprehensive 3D overall image of the preform. Thanks to the prompt, detailed feedback, you optimize your production process faster and reduce the production of rejects. In addition, you will receive the results summarized in exportable quality reports with all important information about the barrier layers.
Key features that make the LayerWatcher unique
Non-destructive, repeatable and accurate
Thanks to a special OptoSonix Scan Technology
3D layer image and exportable quality reports
Automatic cavity number identification
With relevant data for every preform
For a huge range of barrier and layer materials
Reach out to us for detailed information.
The LayerWatcher is able to measure all layers of the entire preform thanks to its revolutionary OptoSonix scan technology. It identifies the layers by their different optical characteristics.
The measuring results are an accumulation of thousands of point positions within the preform layers. These positions have a minimum grid step of 0.2 mm and thus create a dense mesh that indicates the layer thickness.
In a second step, the data is processed and compressed into a few clear parameters defining the characteristics of the layers. According to these results, the user can re-adjust the production process and define limits.
The inspection speed is 45 seconds per preform. The measured data is immediately displayed on the screen.
The system is designed to inspect preforms of PET (polyethylene tereph-thalate), either monolayer (PET throughout the wall) or multi-layer with external (skin) layers of PET, making up outer and inner dimensions of the preform and one middle layer (core or barrier) of a barrier material. PET may be any of the commercially available grades, high or low IV, homopolymer or copolymer.
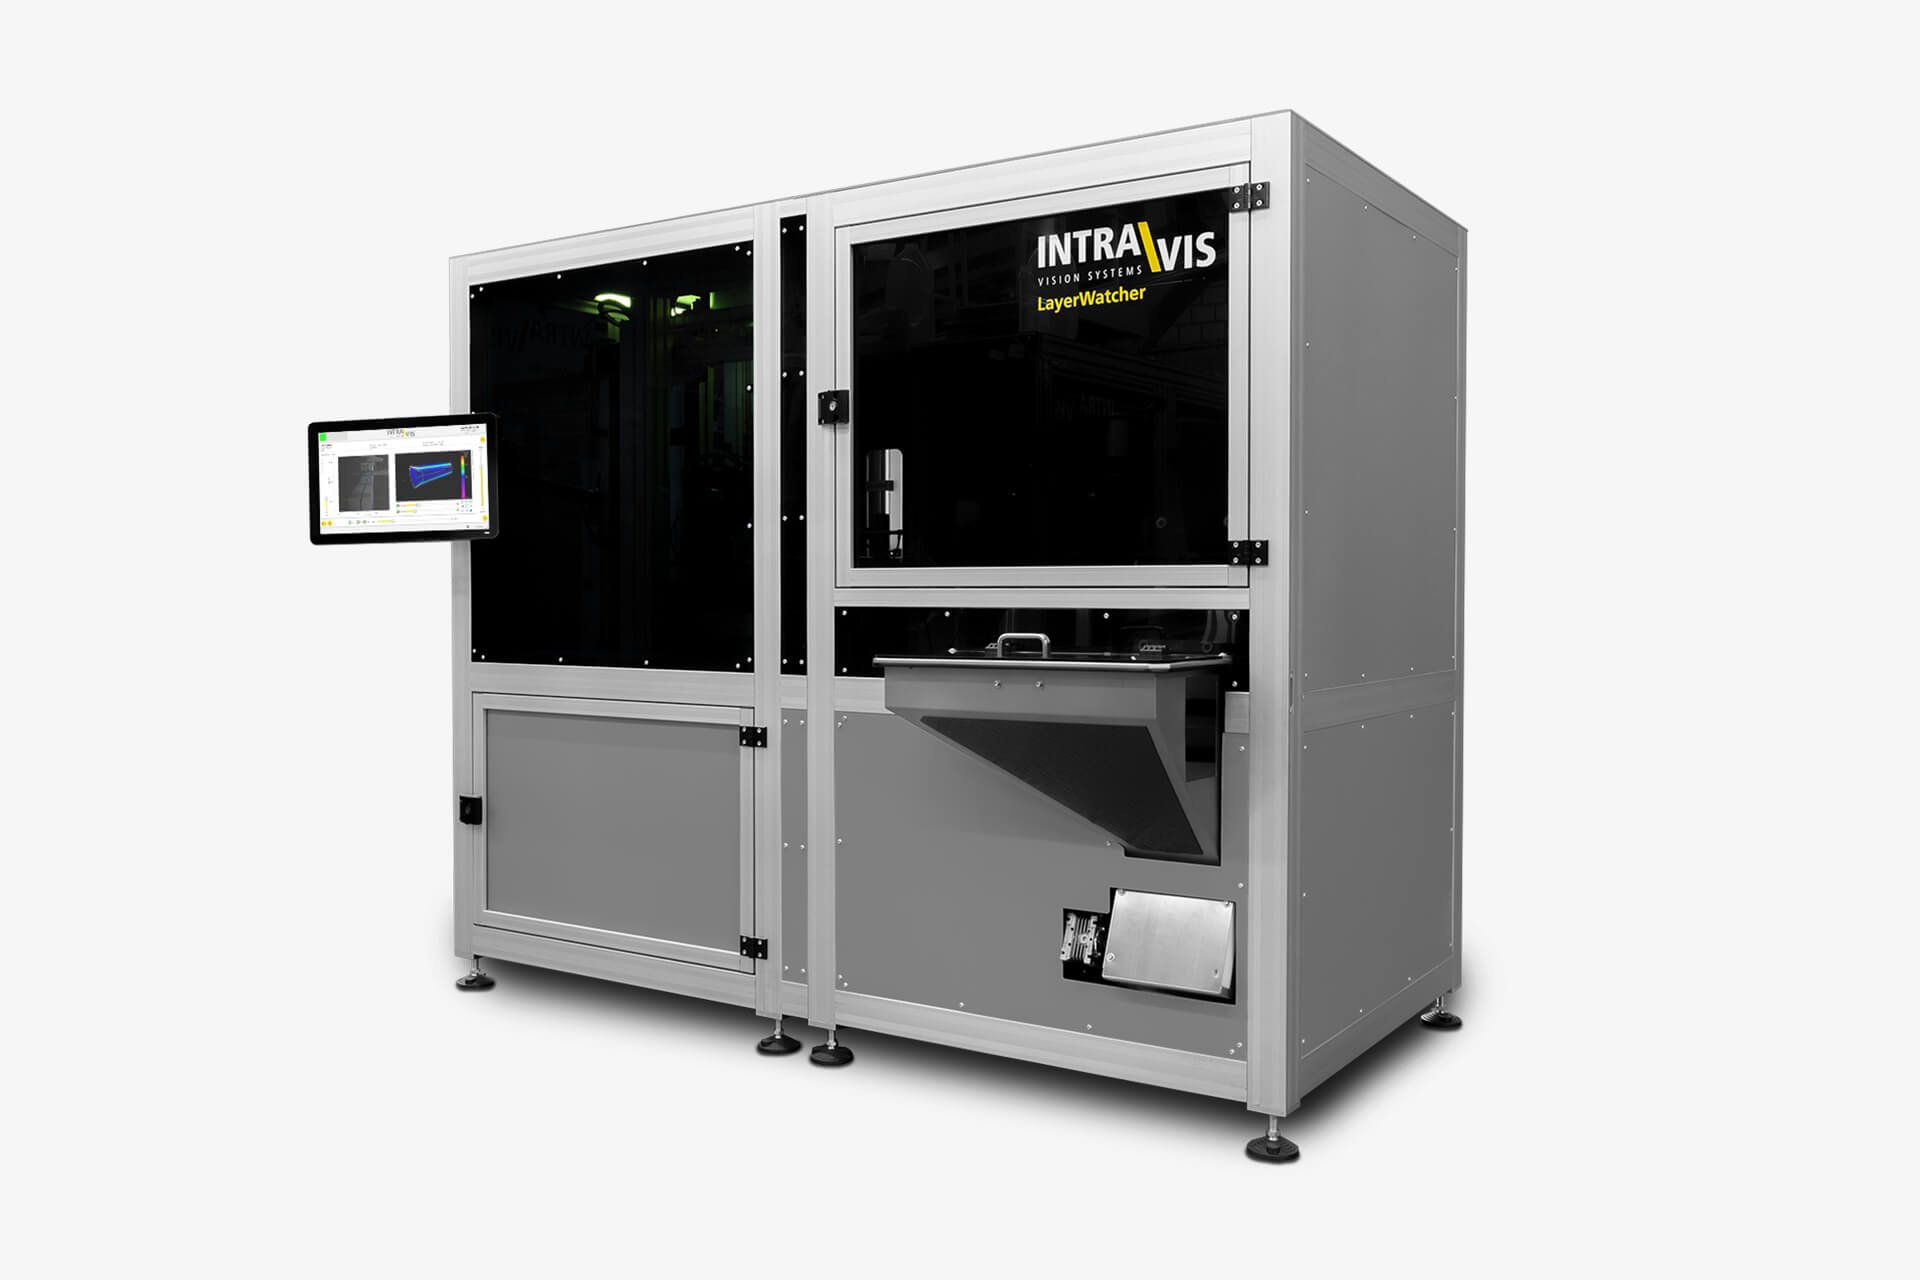
A set of preforms is placed in the included bunker. The preforms are then transported, oriented and fed into a pocket wheel where each preform is automatically identified by its cavity number. Afterwards, a mechanical handling grabs each single preform and leads it to the measuring head where the inspection is carried out. The software processes the gathered image data and saves the measurement results for each preform. The inspected preform is then ejected into the good part or bad part box, depending on the inspection result.
INTRAVIS offers turnkey systems, worldwide support and training courses as well as comprehensive printed and digital information material for every single system. After the purchase of the system, INTRAVIS does not leave you alone with your new vision system. Moreover, service contracts offer worldwide support and service, even within 24 hours.
Are you interested in a highly precise preform layer inspection in a non-destructive way? We are looking forward to hearing from you.
The INTRAVIS website is optimized for the latest browser versions with security updates
Accessing our website with an outdated browser causes display and function errors. Please update your browser to a current version.
For further information, please refer to the relevant browser websites.